Splitting the Tails of Dry Flies
There are many methods used to split tails on dry flies. If you fish a lot of spring creeks or
flat water sections of rivers, as I do, you tend to wind up using lots of comparaduns, no-hackles, spinners,
thorax flies, and even some parachutes with split tails. The method I'm showing here is not recommended
for no-hackles, though I've used it for them, but works particularly well for any fly with biot or
quill bodies. As a devote of A.K. Best I can vouch for quill bodies, and will fish them whenever
possible over flies with dubbed bodies. When splitting tails on those flies, I don't like
the dubbing ball method as I don't see many mayflies with a big dubbing ball on their
rear end. In the case of the no-hackle fly however, the dubbing
is an absolute necessity for floating the fly, and in that case I would use a dubbing ball rather
than the thread ball shown below. For quill body comparaduns, thorax flies, and spinners, the thorax is dubbed, so floatation
is less of an issue. I like a 90 degree spread on the split tails, if I can get it, as it adds
a lot of stability to the fly in the water. For that reason, I use microfibbets
for tailing material on many of these flies, as I can achieve that spread more easily. Hackle
is great too, and I use hackle for tails on most of my no-hackles these days, three barbs on a side.
Many feel that fish like hackle better, that they are put off by the feel of microfibbets.
I've used both, and had good results either way.
The method I show below is an amalgam of a couple of tried and true ways of splitting
tails, with my own wrinkle. Thread torque is always your enemy in tying flies, and
no more so than when it comes to splitting tails. The near tails will always tend to rise
up, the far tails will tend to get pulled down, as you wind the thread. With the
method shown you will stabilize the near tails early in the process, so all you
will then need to worry about are the far tails, and that's the beauty of it.
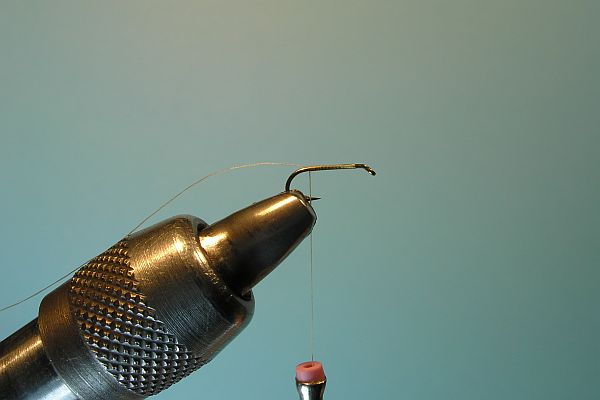
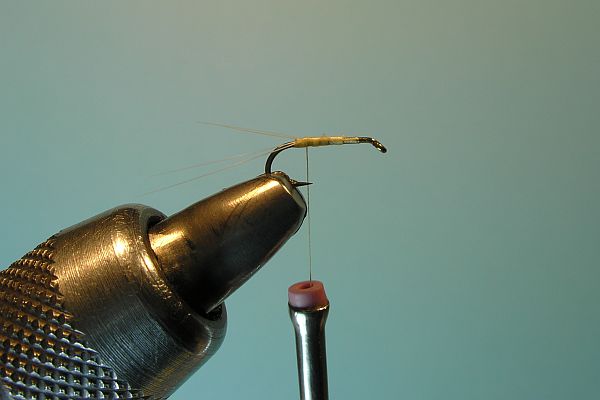
Step One
Wind your thread starting at the eye, back to the tail tie in point, leaving a
tag end of two or three inches. This tag will be used to split the tails.

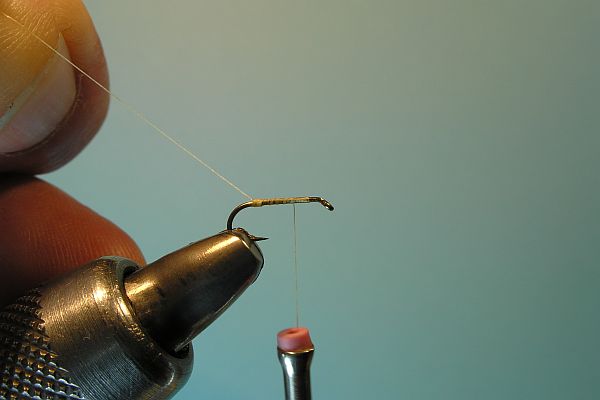
Step Two
Build a small thread ball with 6 wraps or so of thread, wrapping in a "X" fashion.
It helps to hold the tag end up at an angle, under tension, as you wrap against it.
Step Three
Now wind the thread forward with four or five spaced wraps, to around the thorax
position on the fly.
Step Four
After measuring your tails against the hook shank, tie the bundle in on top of the
hook at the thorax position, while holding the bundle against the thread bump. I like
to roll the bundle to the top of the hook, using thread torque to pull it up there.
Then, after securing with a couple of thread wraps, I'll adjust the bundle with both
hands, making sure it's right on top.
Step Five
Next, wind the thread back halfway to the thread bump, holding the
tailing fibers in place, as shown above.

Step Six
Now bring the tag end of the thread up between the microfibbets or hackle, splitting
the bunch exactly in two. You can use your left hand to fan them, then use the thread
to split them. If there is a hard part, this is probably it.
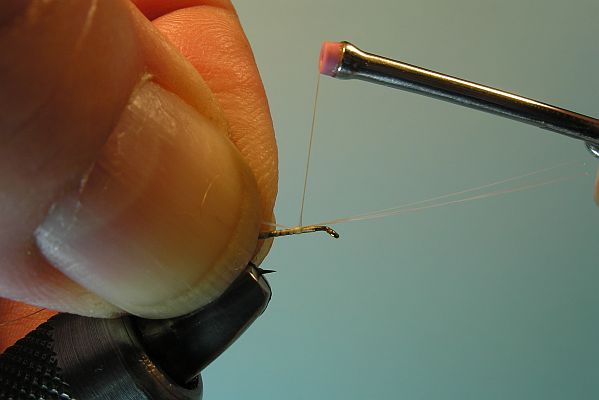
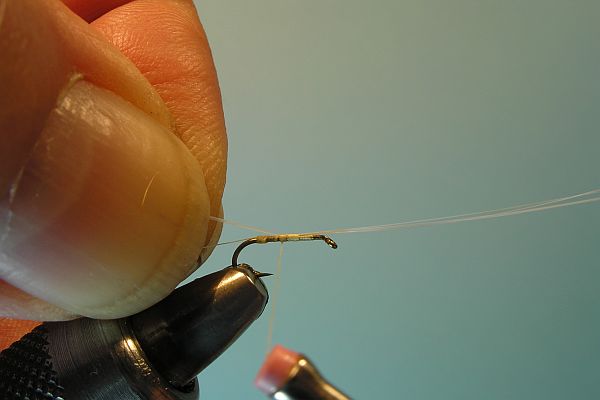
Step Seven
This is where my method deviates just a little from ones I've read about. Here I'm
holding the tag end with my right hand, angled down, under tension, on my side of the hook, in such a manner as
to force the near tails into the thread ball, about halfway down the ball. In other
words, I'm going to use the tag end of the thread to insure that the near tails
won't ride up as I wind the thread further. I'll secure the tag end on my side of
the hook with a couple of hard wraps using my left hand, and then continue wrapping with
my right once the near tails are secure, toward the thread ball.
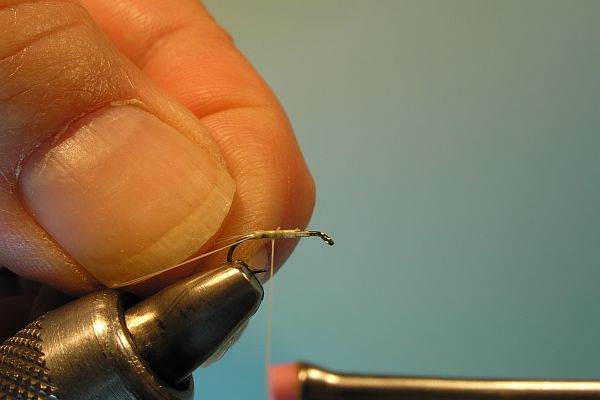
Step Eight
Here is the fly shown just after securing the tag end with two hard wraps.
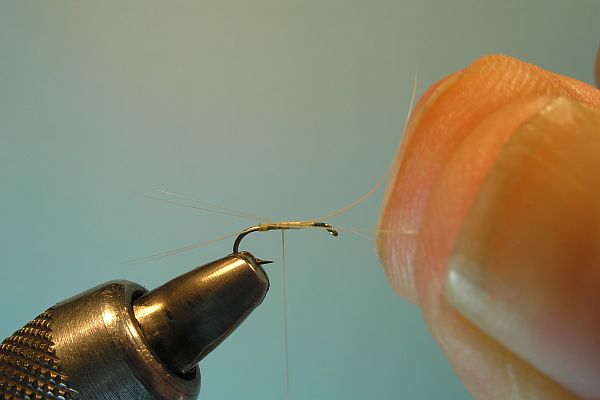
Step Nine
Now I'm wrapping back to the thread ball, holding the far tail in place, forcing
the tails against the ball as I wrap, splitting them
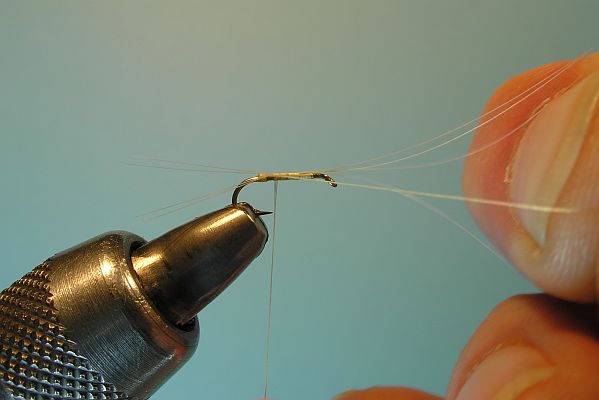
Step Ten
At this point I've wrapped all the way to the thread ball, holding the far tail
in place with my left hand, and the tails are now split.
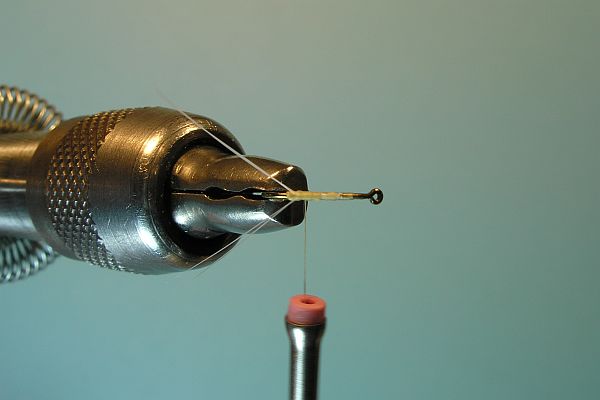
Step Eleven
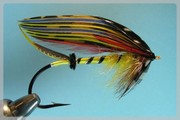
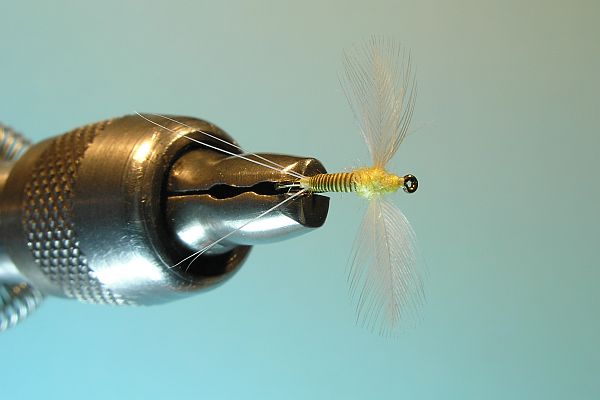
Here is a top view of the split tails. Notice the 90 degree split. And finally,
a spinner tied using this technique.
Step Twelve